
Tension Fabric Display Setup Without Tools
Tension fabric displays offer seamless, wrinkle-free graphics — and they set up without any tools. Here's your complete step-by-step guide with troubleshooting tips.
Why Tool-Free Setup Matters
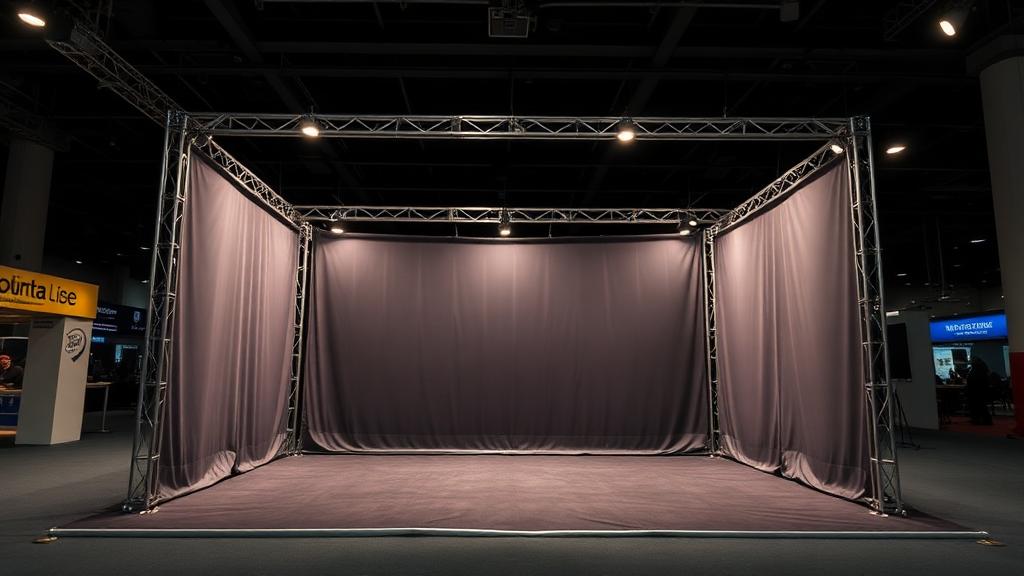
Trade show venues have strict rules about tools and construction on the show floor. Tension fabric displays are designed for 100% tool-free assembly using snap-together aluminum tube frames and SEG fabric graphics that slide into channels. No hammers, no screwdrivers, no wrenches — just your hands and a few minutes of time. This makes tension fabric the preferred choice for exhibitors who want professional results without the hassle of complicated assembly.
Step 1: Assemble the Aluminum Frame
Start by laying out all aluminum tube sections on the floor of your booth space. Modern tension fabric frames use push-button connectors — simply align the tubes and push them together until the button clicks into place. Begin with the base, then build upward. The frame will feel lightweight but sturdy — aircraft-grade aluminum provides excellent structural integrity at minimal weight. Frame assembly takes 5-10 minutes for most configurations.
Step 2: Install the SEG Fabric Graphic
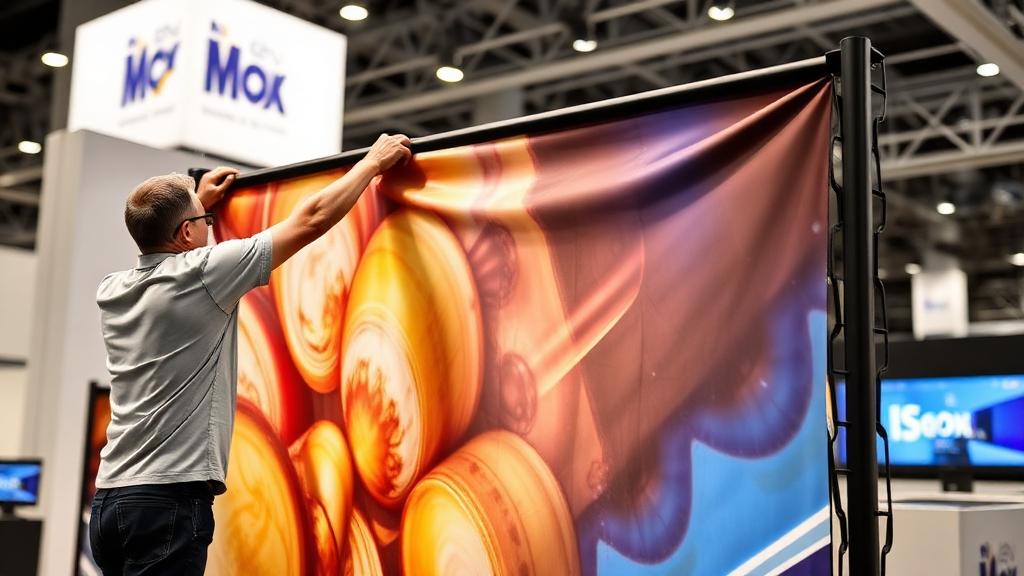
With the frame assembled, it's time to install your SEG (Silicone Edge Graphics) fabric. Starting at the top, feed the silicone edge strip into the channel running around the frame. Work your way down each side, then finish with the bottom. The fabric should stretch taut across the frame, creating a perfectly smooth, wrinkle-free surface. This is the key advantage of tension fabric displays — the seamless graphic appearance is unmatched.
Step 3: Raise and Position
Once the fabric is installed, carefully raise the display to its upright position. Lock the feet or base supports into place. Position the display in your booth according to your layout plan. Adjust the fabric tension by gently pulling on any areas that appear loose. The entire raise-and-position step takes just 2-3 minutes. For a broader setup overview, see our complete setup guide.
Troubleshooting Common Issues
Fabric bunching at corners: Gently pull the fabric from the opposite side to redistribute tension. Frame sections won't connect: Check for debris in connectors and ensure you're pushing firmly until the button clicks. Wrinkles in fabric: Smooth with your hands or use a handheld steamer (not an iron). Display wobbles: Check that all feet are properly locked and the surface is level. For more fabric care tips, see high-impact graphics guide.
Teardown and Storage
Teardown is the reverse of setup. Remove the fabric by pulling the silicone edge from the channel — start at the bottom and work up. Fold the fabric along its original creases. Disassemble the frame by pressing the push-button connectors. Pack everything into the carrying case with the fabric on top to minimize wrinkles. Store in a climate-controlled environment between events. Read our packing and transport guide for complete storage advice.
Choosing the Right Size
Tension fabric displays come in multiple sizes: 8ft for compact booths, 10ft for standard inline booths, and 20ft for larger spaces. All sizes feature the same tool-free assembly process. For help choosing the right size, read our booth size guide. Visit the ExhibitBossPro homepage for our complete tension fabric product line.
Related Trade Show Display Products
FAQ
Need Help Choosing a Display?
Our exhibit designers will help you find the perfect trade show display system.